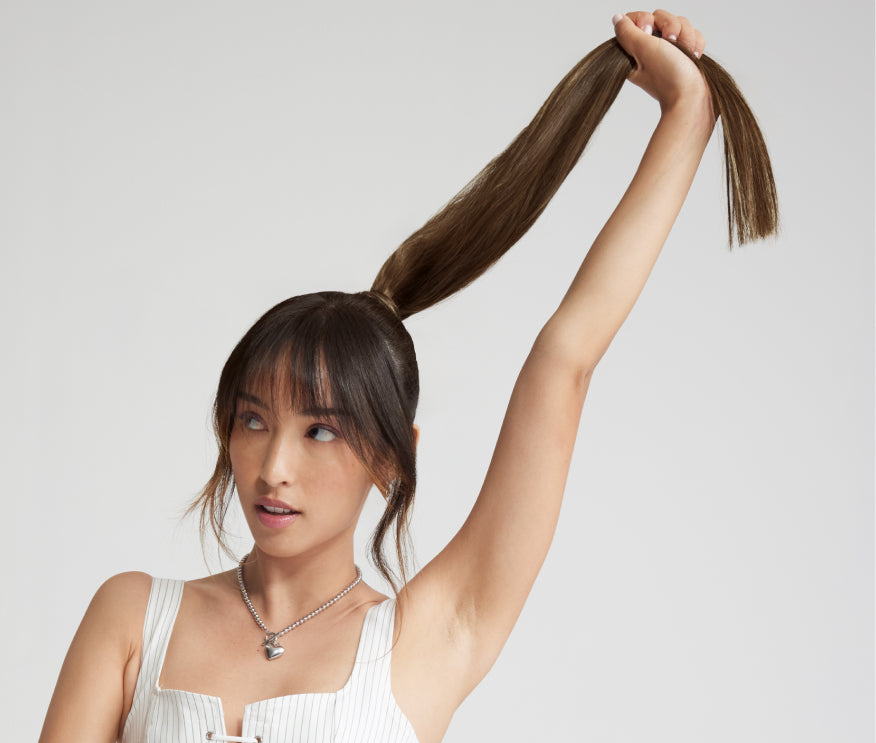


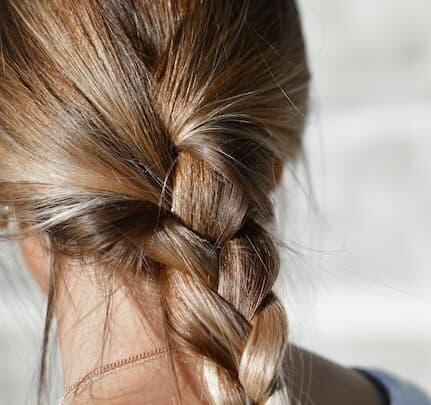
How to Wash Hair Extensions

Hair extensions are like your best friends. They’re always there for you when you want to rock long, luscious, fuller, and lively hair on any occasion. As such, they also deserve to receive care from your end. After all, being best friends is a mutual commitment.
The way you wash your hair extensions can go a long way toward determining their lifespan and retaining their silky, soft, and beautiful look and texture.
We’ll tell you how to wash hair extensions properly in this step-by-step guide!
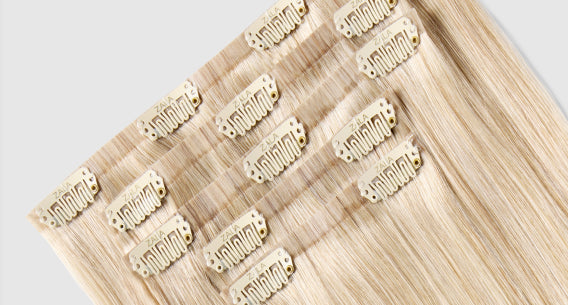
How to Wash Clip-In Hair Extensions
Follow the steps given below to learn how to wash hair extensionseffectively. It’s crucial to maintain their beauty and durability by following these detailed steps.
Step 1: Brush Your Hair Extensions
To begin, make sure to brush your extensions. Doing so will ensure the wefts are tangle-free during and after the washing process.
Use a specialized hair extensions brush or a loop brush to ensure no hair breakage occurs. Start brushing gently from the ends of the hair, working your way towards the base or roots. And while brushing, carefully disentangle any knots without damaging the wefts.
Step 2: Prepare Your Sink
Clean your sink and close the drain. Next, fill up the sink with water while ensuring the water is not too cold or too hot. We recommend lukewarm water for washing hair extensions.
Put a few drops of shampoo into the water and mix it properly so the product dissolves completely. Make sure to use a shampoo free of harsh chemicals like alcohol and sulfates.
Step 3: Shampoo the Extensions
It’s a good idea to treat each weft with a moisturizing conditioner before and after shampooing. Again, ensure that your conditioner is free of alcohol and sulfates.
After applying the conditioner, shampoo the wefts one by one. Washing each piece of extension separately will help prevent tangling.
Here’s how you can wash each weft:
- Hold the extension in your hand at the base.
- Dip it into the water-shampoo mixture.
- Gently run your other hand over the hair to remove dirt and product buildup.
- Do not stroke or rub the weft strenuously, as it can damage the hair.
- Once you’ve washed the weft, lay it down on a clean towel.
- Repeat the above steps for all of the wefts.
Step 4: Use a Conditioner
After you’re done shampooing all of the wefts, make sure to condition them. Take enough conditioner in your hand and apply it to each weft.
Make sure the conditioner covers each extension from the base to the end. Also, gently but thoroughly rub the conditioner into the hair strands.
Let the conditioner sit in for five or ten minutes before rinsing the extensions thoroughly.
Step 5: Apply a Hair Mask
Applying a hair mask will keep your extensions silky, soft, and moisturized. Make sure to apply a generous amount of hair masks to each weft. Also, thoroughly massage the product into each hair extension from the base to the end. Then, leave the product in the wefts overnight. This will help seal in the maximum amount of moisture.
Step 6: Rinse the Extensions
After applying the hair mask and leaving it overnight, rinse the extensions to remove any remaining conditioner from the hair the following day. Be sure to rinse the wefts thoroughly to strip them off any conditioner residue.
Next, dip the wefts in the cold water one by one. This step helps close the cuticles, seal in moisture, and make the hair look lustrous.
Step 7: Air Dry the Wefts
Take the extensions in your hand and gently squeeze them to remove any excess water. Do not rub the wefts with a towel because it can damage the hair. Also, try not to use heat tools like a blow dryer. It’s always a good idea to let your hair extensions air-dry.
If you’re short of time, you may use a blow dryer after applying a heat protectant to your extensions. Also, make sure to set your blow dryer’s temperature to a minimum to prevent possible heat damage to your extensions.
Step 8: Brush Your Hair Extensions
Once your hair extensions are fully dry, it’s time to brush them. Caution: Never brush the wefts when they’re wet because it can cause hair breakage.
Take a wide-toothed comb or a loop brush and gently brush each weft from the ends to the base. After you’re done with brushing, you can put your clean and silky-smooth extensions in your hair and style them to your liking.
How to Wash Tape-In Extensions
Knowing how to wash tape-in extensions properly ensures their longevity and keeps them looking their best. Follow the detailed steps in this guide to maintain your tape-in extensions in prime condition.
While proper care is essential, having extensions that last start with a high-quality product. ZALA’s extensions are made from 100% human hair to ensure long-lasting quality. Shop our wide selection of hair extensions here.
Share This Post:
Related Zala Blog
A Complete Guide To Air-Drying Hair
If you're interested in getting your dripping wet hair to dry without using heat, here's our complete guide to air-drying hair.... Read more
Different Types of Hair Extensions
An in-depth list of all the different types of hair extensions, along with the pro's and con's of each method to help you choose the...... Read more
Types of Hair Extensions at ZALA
In this article, we'll tell you all about the different types of hair extensions at ZALA and what you can achieve with them!... Read more
How to Blend Extensions with Short Hair
For girls with short hair, blending your extensions can be a little tricky. We bring you the full guide on how to blend extensions w...... Read more
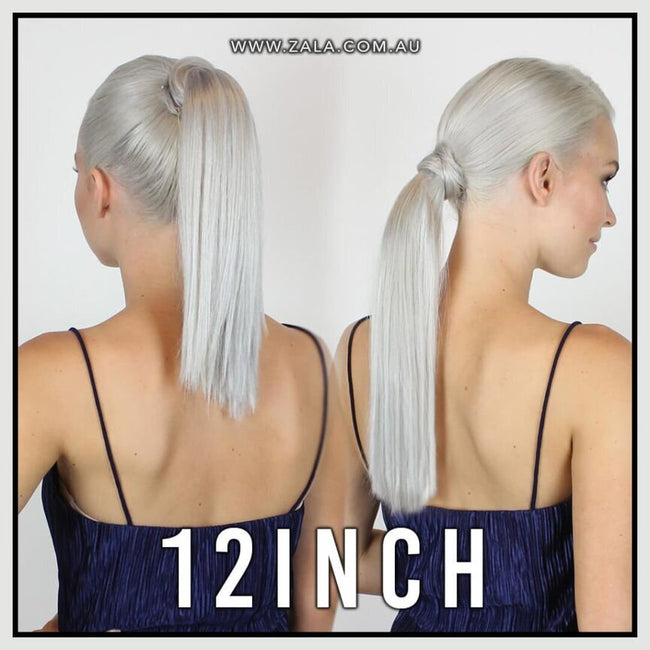
Ponytail Length Guide
Are you unsure on which ponytail is the right length for you? See our full ponytail length guide on ZALA's clip & wrap ponytail ...... Read more
The A-Z of Keratin Hair Extensions
Your hair is, without a doubt, a great way to express yourself. But sometimes, the lack of length and volume can prevent you from be...... Read more
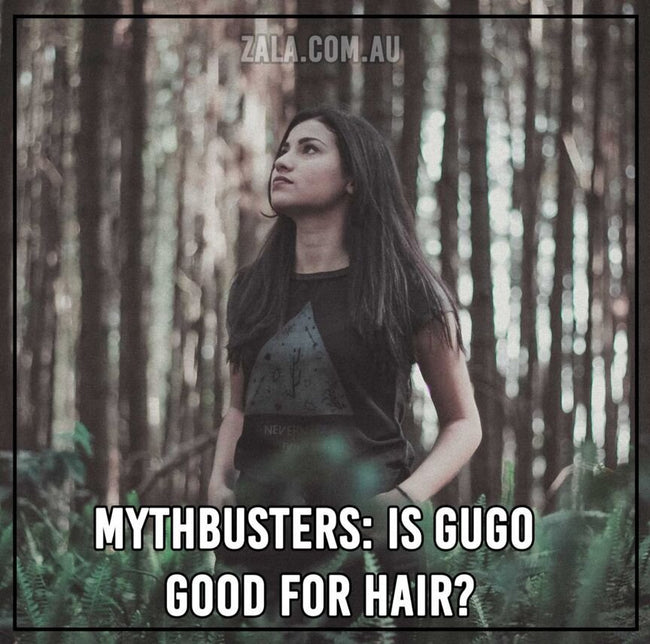
Mythbusters: Is Gugo Good For Hair?
The hair industry is always looking for a way to treat hair naturally. In today's ZALA mythbusters, we ask: is gugo good for hair?... Read more
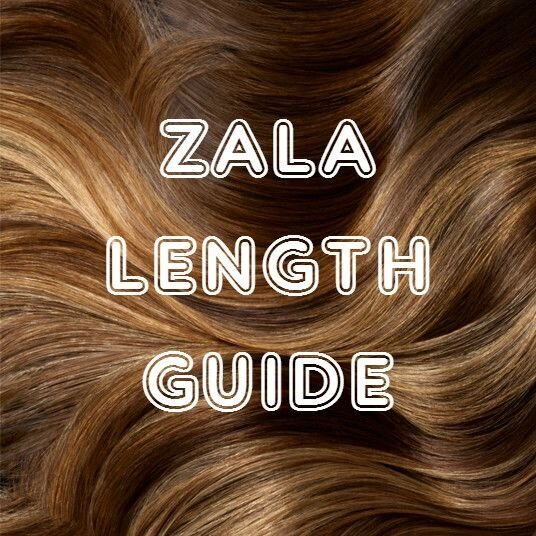
ZALA Hair Extensions Length Guide
At ZALA, we offer lengths 14-30inch. Need some help choosing the right length? Look no further! Read our complete guide on each ZALA...... Read more

ZALA Dollars
Get rewarded every time you shop at ZALA! Earn 5 ZALA Dollars for every $1AU spent on our store, for referring friends and much more!... Read more

Discover the Most Durable Hair Extensions
How long do clip-in hair extensions last, along with other popular types? Let’s have a look at the different lifespans of the leadin...... Read more

Which Hair Extension Length Do You Need?
Considering hair extensions? Check out 20-inch hair extensions before and after styles to find the right length. The right hair exte...... Read more
The Best Hair Extensions for Thin Hair
Discover the best hair extensions for thin hair, including clip-ins, tape-ins, and halos that protect fine hair. ... Read more